
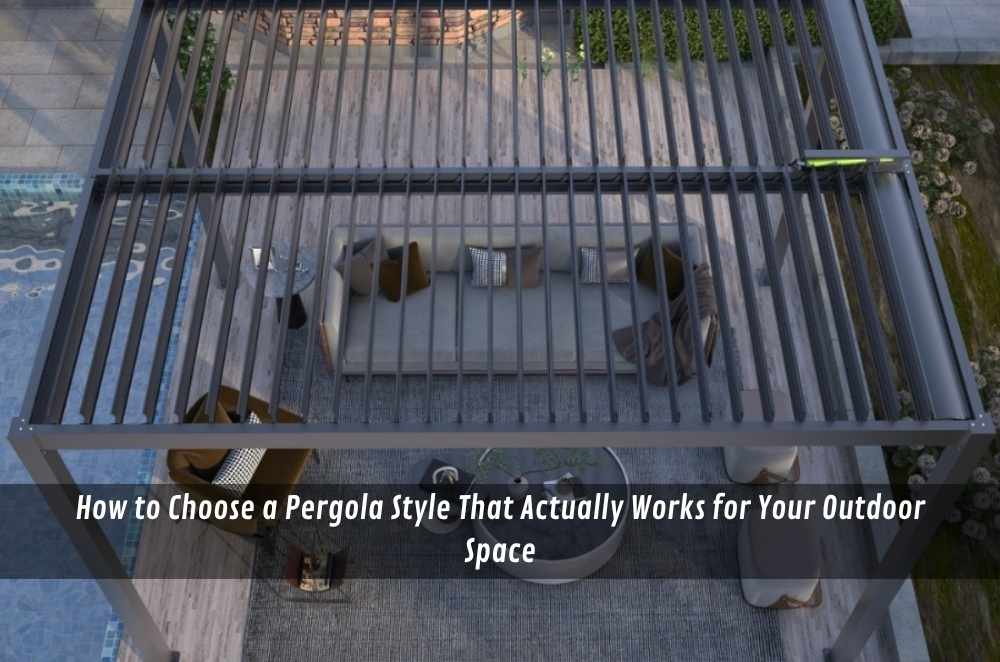
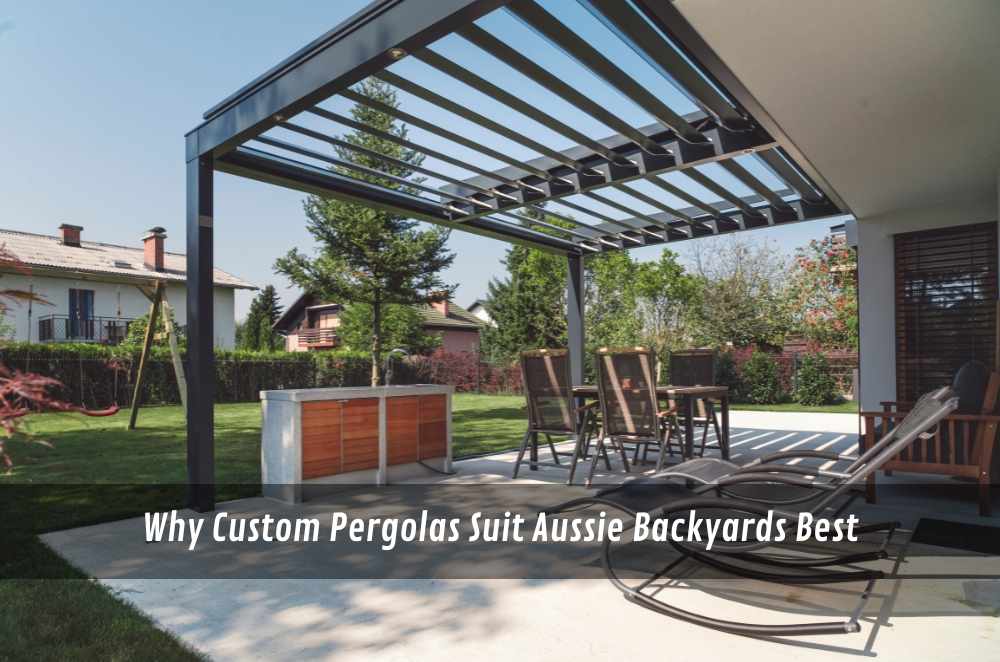
Summer in Australia is a paradox: you want the sun for morning coffee and winter warmth, but by midday you’re hunting shade. That’s why a louvre roof pergola earns its keep. Adjustable blades give you shade when it scorches, light when it softens, and airflow on still, muggy afternoons—without turning your patio into a dark cave. Here’s how they actually improve comfort, not just aesthetics.
Microclimate control in real time
Fixed roofs force a choice: full sun or full shade. Louvered systems let you dial in comfort.
Angle the blades to block high summer sun while admitting low winter rays.
Feather them open to vent hot air that pools under solid roofs—goodbye heat trap.
Snap shut at the first spits of rain; integrated gutters carry water away so lunch goes on.
Trim glare without losing daylight; you keep that bright, open feeling.
I felt the difference the first week we installed one at my place. Mid-January, western glow bouncing off the neighbour’s wall; normally, we’d retreat indoors. With the blades at a shallow angle, the space stayed bright, the table didn’t fry, and a faint seabreeze finally moved through. No heroics. Just control.
Orientation matters (and so does your blade angle)
The magic isn’t random—it’s geometry and local climate working together.
North-facing patios: set a shallow angle in summer to block overhead sun; open wide in winter to soak up warmth.
West-facing patios: go steeper during late arvo to stop low-angle glare; pair with vertical screens for the last hour of burn.
South/east aspects: focus on rainfall management and morning light, then use partial closure to cut wind chill.
A good installer will walk the compass with you and show how angles change across the day—especially handy in coastal suburbs with sea breezes and reflective light.
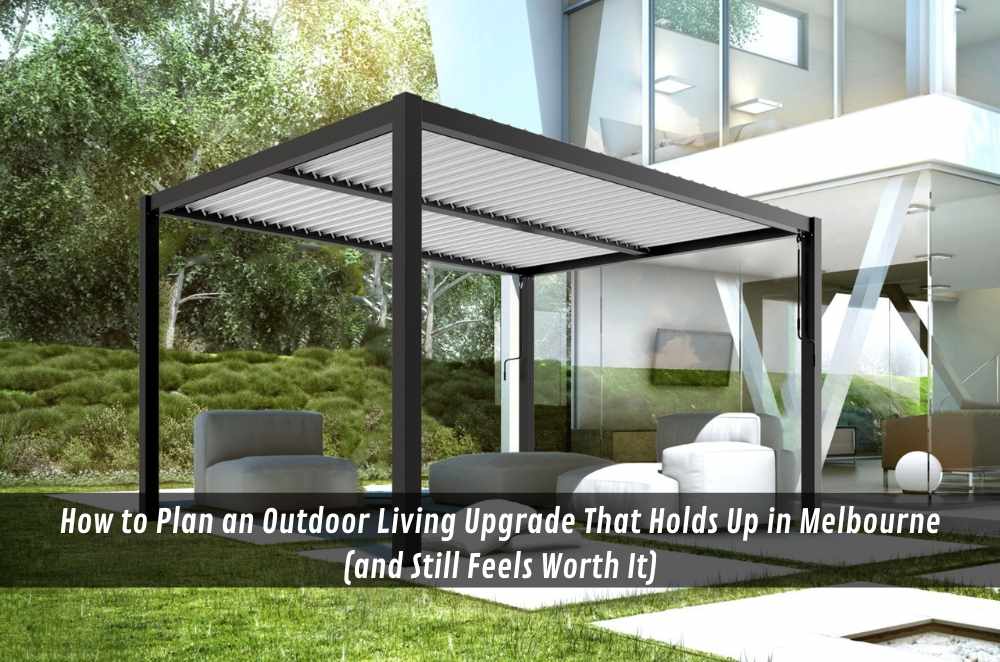
Shade without stuffiness: Why airflow is the unsung hero
We talk about shade a lot. Air is the quiet achiever. Because louver blades aren’t a solid slab, you can keep cross-ventilation even while blocking direct sun. That means:
Lower perceived temperature via convective cooling; sweat actually evaporates.
Less heat soak in furniture and paving, so the area cools quicker after sunset.
Fewer hot pockets that drive everyone into one corner of the deck.
If you’ve ever sat under a polycarbonate panel on a 34°C day, you know the greenhouse effect. Louvered roofs dodge that by letting heat escape near the ridge while you stay shaded below.
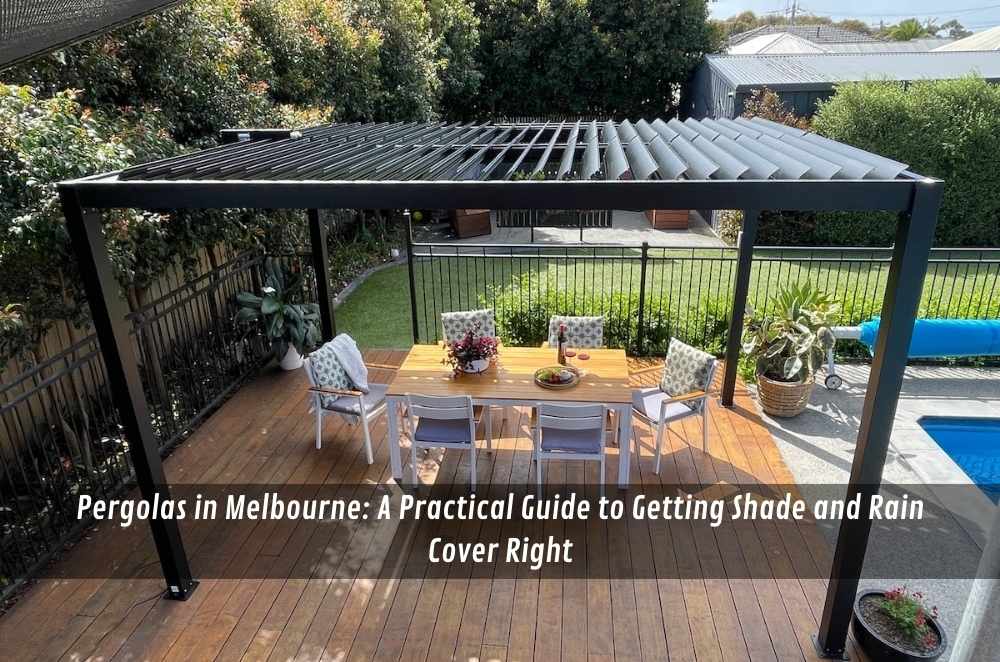
Rain? Keep dining (just mind the details)
Most systems include gutters and downpipes integrated along one or more edges. When shut:
Water sheds across blades into the perimeter channels.
Downpipes can be positioned to miss walkways and garden beds.
Slight fall prevents pooling and drips.
This is where quality matters: decent seals, proper fall, and stiff blades. If you’re comparing options, ask to see the underside during a hose test. You’ll know in 10 seconds whether it’s rain-ready or a fair-weather friend.
Proof against glare and UV without turning the space gloomy
Comfort isn’t only about temperature. Afternoon glare cooks eyes and spoils screens. Because blades are controllable, you can:
Cut harsh reflections off nearby walls or pools.
Protect soft furnishings from UV fade while keeping ambient daylight.
Use the roof like a dimmer for reading, laptop time, or kids’ homework outside.
It’s the sweet spot between a deep verandah (dark but protective) and an open pergola (bright but brutal).
Approvals and rules (so you don’t overstep)
Pergolas are often straightforward, but not always “no-approval-needed”. In NSW, some decks, patios and pergolas can be exempt from development if they meet strict size, location and height criteria. For the official summary, check the pergola roof and confirm what applies to your lot. If your design exceeds the limits, a complying development or DA route may be the go.
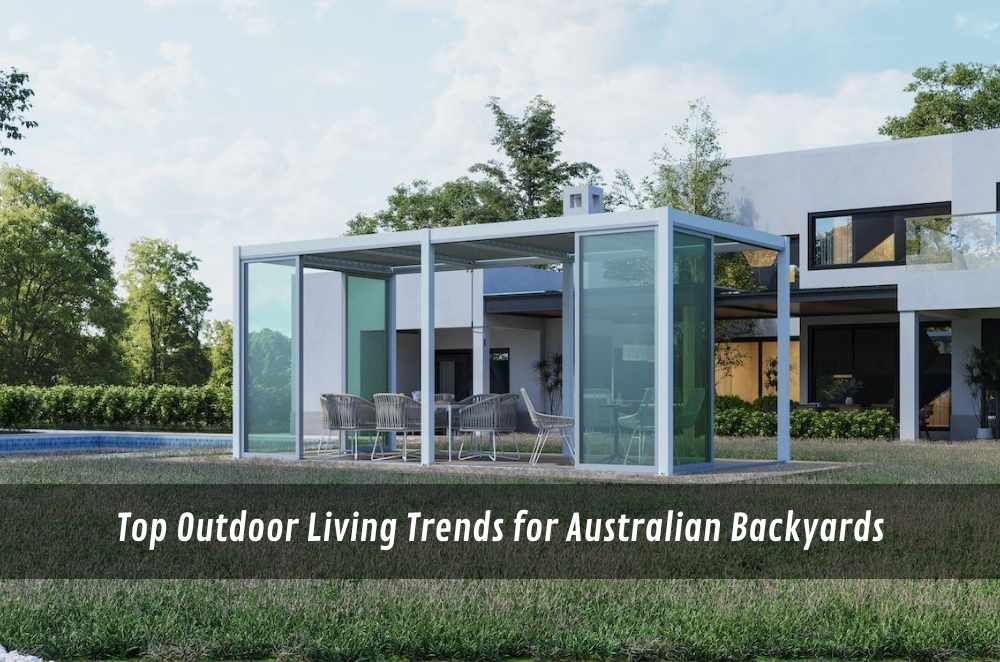
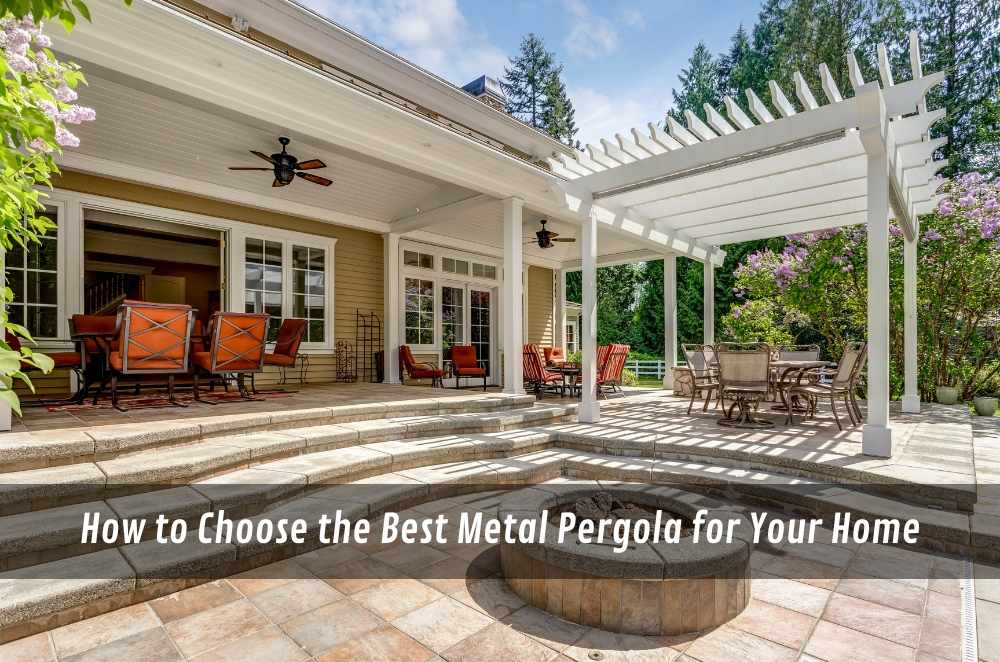
Freestanding or attached? Pick the right structure
Louvered roofs can be bracketed to the house or built free of it. Each has pros and cons:
Attached: tidy transitions, fewer posts, seamless flow from kitchen to alfresco.
Freestanding: great for poolside zones, garden pavilions, or tricky eave lines; avoids loading the house frame.
Planning content for later? Save an internal explainer slot: freestanding pergola.
Comfort add-ons that pull their weight
A few small upgrades make the space usable more days of the year:
Side screens (zip or fixed) tame cross-winds and late arvo sun.
Ceiling fans enhance convective cooling under partially open blades.
Outdoor heaters for the shoulder seasons—angled so they don’t blast the roof.
Lighting is integrated in the frame, so you don’t see cables or fittings.
Think of the louvered and manual pergola as a room you can tune—air, light, and shelter to taste. You can read a blog about it here: https://uniquepergolas.com.au/product-category/manual-pergolas/
Materials and maintenance (low fuss wins)
Coastal air is unforgiving. Look for:
Powder-coated aluminium or marine-grade stainless fixings; beware bare steel near salt.
Quality coatings with written warranties suitable for your corrosion zone.
Accessible gutters you can clear each season; leaf guards help under gum trees.
Routine care is pretty dull (rinse, quick wipe, clear outlets), but it’s what keeps the glide smooth and the finish sharp after summer storms.
Real-world scenarios (what changed on site)
Case 1: West-facing terrace in the suburbs
The owners loved late sun but hated the 4–6 pm glare. We set blade presets for two moments: “school pickup” (steeper, max shade) and “dinner” (lighter, more sky). Add a ceiling fan and a single side screen, and summer dinners moved back outside—no one bolted indoors at 5 pm.
Case 2: Breezy coastal courtyard
A solid roof had turned the spot into an oven. We swapped to louvered and spaced the blades for airflow, and kept a partial opening most afternoons. The area cooled quickly after sunset, and the stone pavers stopped holding heat till bedtime.
Budget levers that don’t ruin comfort
Prioritise blade quality over fancy extras; smooth operation outlasts gimmicks.
Stage your spend: structure now, side screens next season.
Power and drainage first; retrofitting later costs more.
Keep spans honest: extra posts beat flex and rattles in a storm.
Installation checklist (to avoid surprises)
Confirm fall direction (where the water goes) and downpipe placement.
Check clearances to eaves, A/C units, and doors opening under the roof.
Test manual override if motors fail.
Walk the shade line with your installer at 10 am and 4 pm; set realistic expectations.
Why does it beat fixed roofs for day-to-day liveability
Short version: flexibility. You can sip winter sun, lunch through a summer shower, keep the breeze while shading UV, and turn a harsh patio into a daily room. That’s genuine comfort—measured in the hours you actually spend outside.
If you want a broader, neutral explainer to cite later, keep this slot ready for a louvered pergola roof.
The takeaway
A well-sited, well-built louvered pergola creates a microclimate you control. Angle the blades for shade and air, shut them for showers, and tune the edges with screens and fans. Plan the details—orientation, drainage, materials—and you’ll use the space from breakfast to late evening, all summer long. When you’re weighing options, start with a louvre roof pergola and work outward from there.


Write a comment ...