
Outdoor spaces look easy on a mood board, then reality shows up: harsh afternoon sun, a windy corner, a downpipe that dumps water right where you want to stand, and a “simple” rectangle that isn’t actually square. Choosing a pergola style is less about what photographs well and more about what performs in the specific conditions of the yard.
A good choice does three things at once: it makes the space more usable, it suits how people actually move through the area, and it holds up without turning into a maintenance project. The best part is that you can find pergola styles for outdoor spaces that fit your needs before you talk to anyone, simply by measuring properly and deciding what the pergola needs to do.
Start with the job your pergola needs to do
Before styles, decide the “primary job” and the “nice-to-haves.”
A pergola that exists mainly for summer shade is a different build from one that needs to cope with rain, outdoor cooking, or poolside privacy.
Think in outcomes:
Shade control: Is it morning light you love and afternoon glare you hate, or is it full-day coverage?
Rain cover: Do you need “duck under it for a minute” protection, or do you want to sit outside while it drizzles?
Ventilation: Hot air needs somewhere to go, especially near BBQs and outdoor kitchens.
Privacy: Are you blocking neighbouring windows, a side boundary, or a street view?
Entertaining: Does it need to fit a table, a lounge zone, or both?
If you can write one sentence—“We want a comfortable, shaded dining spot for six that still feels open”—the style choices get much simpler.
Measure the space like a builder, not like a decorator
Most pergola regrets come from sizing and placement, not from the style itself.
Start with a quick sketch and mark fixed constraints: doors, steps, windows, downpipes, power points, drains, garden beds, and anything that must stay accessible.
Key measurements that matter more than overall area:
Door swing and traffic path: Leave a clean route from the house to the lawn, clothesline, or side gate.
Head height and sightlines: A low roofline can feel oppressive; a high one can reduce shade where you want it most.
Distance from the house: Too close can block light inside; too far can feel disconnected and less used.
Setbacks and edges: Posts near boundaries and fences can be tricky depending on the site and local rules.
Sun and wind direction: Note where the afternoon sun lands and where wind funnels through.
An Operator Experience Moment: it’s common to see people fall in love with a style first, then “make it fit” by shrinking it. The result is usually a structure that technically exists but doesn’t comfortably fit furniture or circulation. A simple tape-measure session—plus a few chairs mocked up in the intended footprint—often prevents the most expensive kind of redo.
The main pergola styles and where each one shines
There’s no universal “best style,” only the best match for function, layout, and tolerance for maintenance.
Use the shortlist below to narrow options quickly.
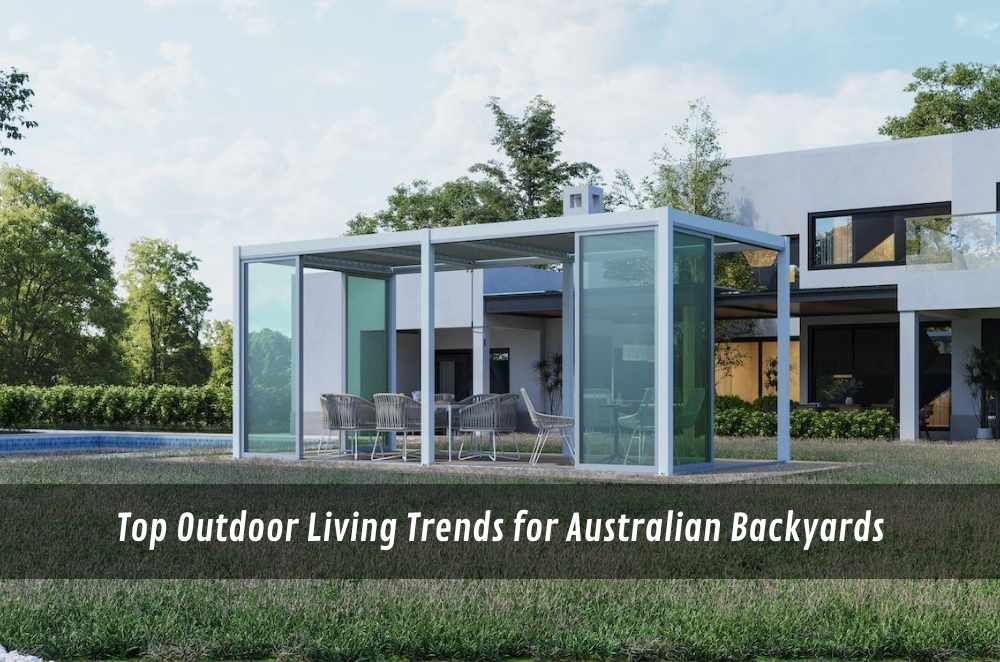
Freestanding pergola
A freestanding pergola sits away from the house and can define a zone in the yard—near a pool, garden, or fire pit.
It’s great when you want separation, when the house wall isn’t suitable for fixing, or when you’re creating a destination space.
Watch-outs: longer spans can require more structural thinking, and you’ll want a clear plan for lighting, drainage, and paths to it.
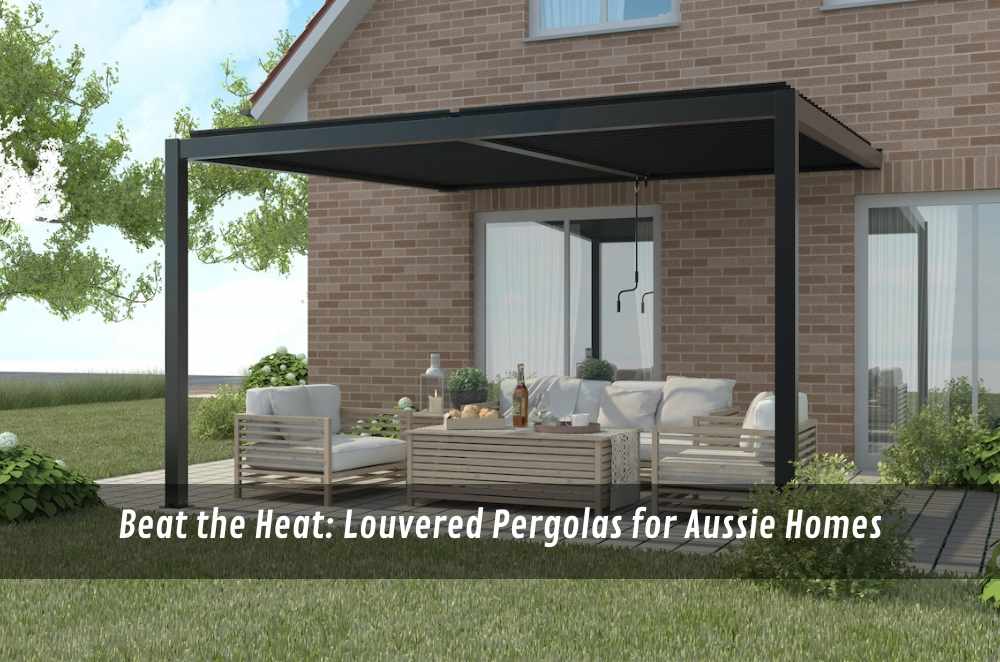
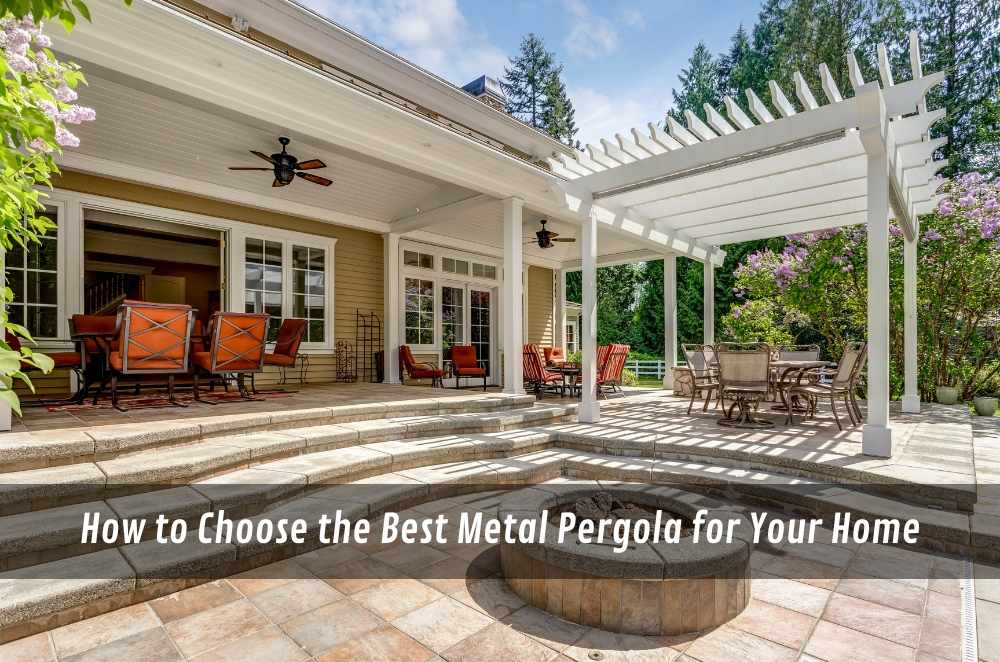
Attached (lean-to) pergola
An attached pergola connects to the home and is often used to extend a living area outward.
It usually feels more integrated and convenient for daily use because it’s right off the back door.
Watch-outs: it can reduce natural light into adjacent rooms if not planned well, and roof height/line can be constrained by existing eaves or windows.
Open-roof (traditional slatted) pergola
This is the classic “filtered light” look: slats or battens that create patterns and partial shade.
It works well when the goal is ambience, vine support, or a softer transition space rather than full weather cover.
Watch-outs: it won’t solve heavy rain, and the angle/orientation of slats matters a lot for afternoon sun control.
Fixed-roof pergola
A fixed roof provides consistent cover and can make outdoor dining reliable in more weather conditions.
It’s often chosen when the space must stay usable regardless of season, especially where rain and outdoor cooking are factors.
Watch-outs: more cover means more attention to drainage, runoff management, and how it affects light and airflow.
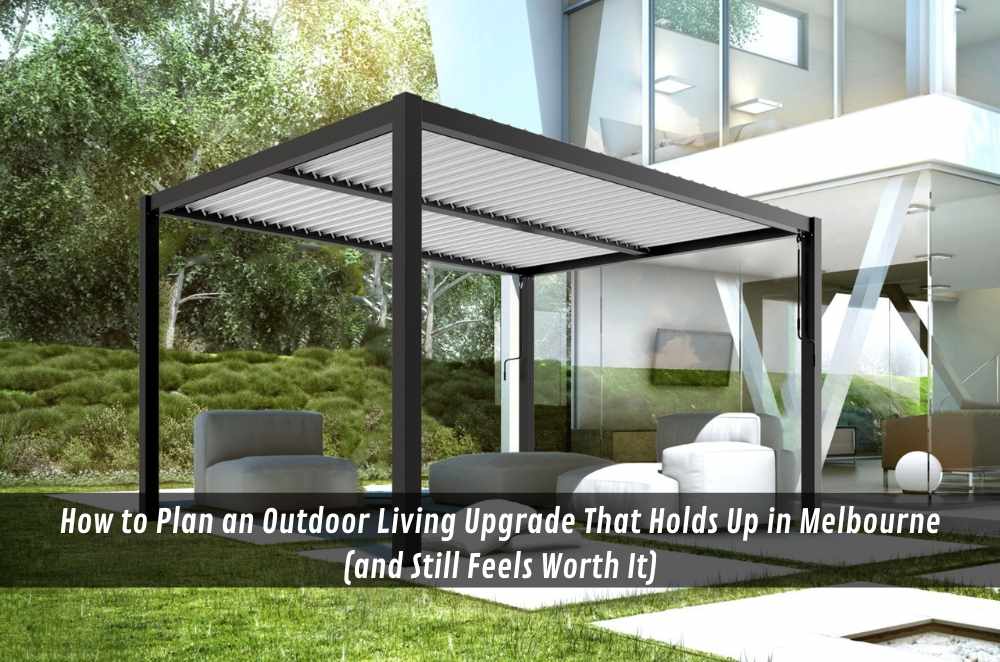
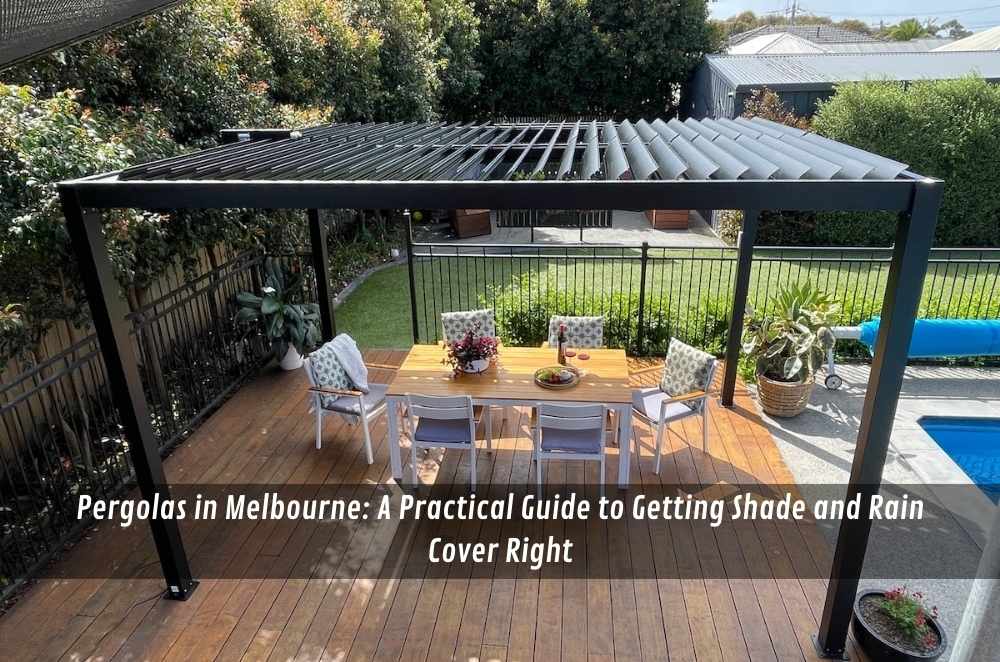
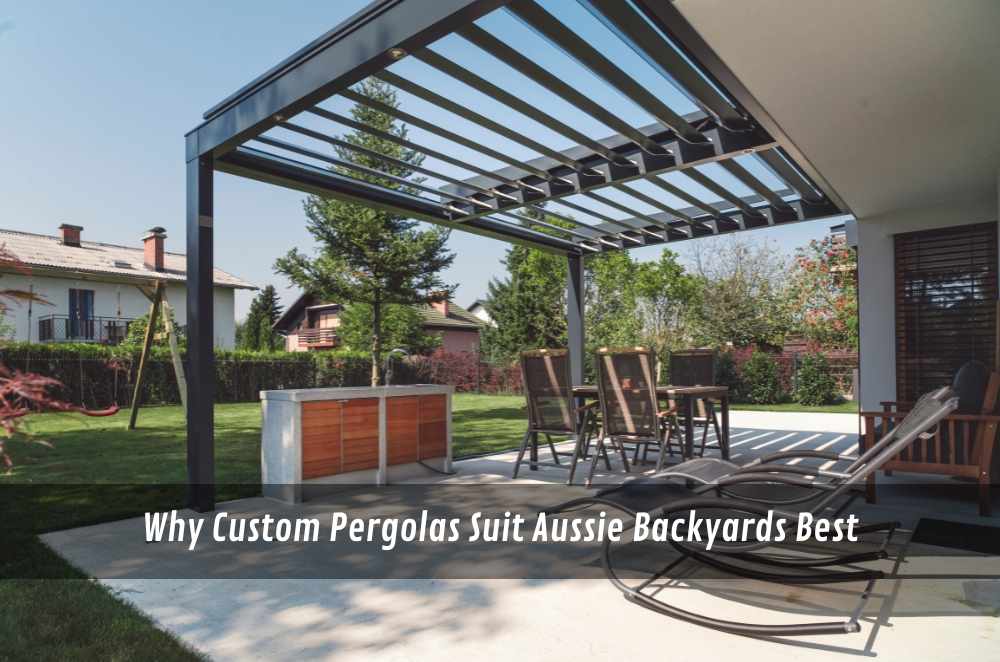
Louvre-style roof systems
Louvres offer adjustable shade and ventilation—open for breeze, closed for sun or light rain (depending on the system).
They suit households that want flexibility without constantly moving umbrellas and temporary covers.
Watch-outs: moving parts and controls add complexity, and performance in wind and rain depends on design, installation, and how the area is oriented.
Gabled or pitched roof profiles
A gabled look can create height and airflow, and can suit homes where a flat line looks visually heavy.
It’s often chosen for larger entertaining areas where “ceiling” height makes the zone feel expansive.
Watch-outs: a more complex profile can mean more detailing and planning, especially where it meets the house.
Materials that make sense in Australia (and the maintenance reality)
In Australia, sun exposure, coastal air in some areas, and big temperature swings in others can punish the wrong choice.
Material selection is less about a single “best” and more about aligning expectations with upkeep.
Timber
Timber can look warm and natural and suit older homes or garden-forward designs.
The trade-off is ongoing maintenance: finishes, checking, and weathering are normal over time.
Best for: people who like natural materials and are comfortable with periodic upkeep.
Not ideal for: those who want “set-and-forget” with minimal maintenance.
Aluminium
Aluminium is popular for its clean lines and low maintenance profile.
It can be a strong choice where durability and ease of upkeep are the priority.
Best for: modern homes, coastal considerations, and busy households.
Not ideal for: anyone expecting a timber look without acknowledging it will feel different.
Steel (where used)
Steel can handle strength requirements well but needs careful treatment to avoid corrosion, especially in harsh environments.
It can be a good option when spans, engineering, or specific design requirements call for it.
Best for: structural needs and certain design profiles.
Not ideal for: ignoring protective finishes or environment-specific considerations.
Decision factors that save money later
This is where pergolas go from “pretty” to properly planned.
Small early decisions often prevent long-term frustration.
Shade, orientation, and comfort
If afternoon sun is the enemy, orient the roof or screening strategy to block the western side.
If ventilation is the issue, avoid designs that trap heat and consider how air will move through the zone.
Drainage and runoff
Any covered structure needs a plan for where water goes.
Think about gutters, downpipes, and how runoff interacts with paving, garden beds, and pathways.
Wind and exposure
A sheltered courtyard behaves differently from an open yard that catches gusts.
Screens, roof forms, and post placement all interact with wind, and the “nice open look” can become unpleasant if the space is constantly blowing through.
Lighting and electrics
If you’ll use the area at night, plan lighting early rather than as an afterthought.
Downlights, feature lighting, fans, and heaters all benefit from being considered during design, not after everything is finished.
Approvals and site constraints
Requirements can vary by council and site conditions.
Even if a structure feels modest, setbacks, height, and fixing methods can be relevant, so it’s worth confirming early so the design doesn’t get forced into awkward compromises later.
If it helps to see the options laid out before committing to a layout, the Unique Pergolas style guide is a useful reference for comparing roof types and configurations.
Matching style to how you actually live
A pergola that looks perfect but doesn’t suit daily habits will be underused.
If most time outdoors is weekday dinners, prioritise a dining-friendly footprint and easy access to the kitchen. If it’s weekend lounging, build around comfort, airflow, and shade across the hours you’ll actually be outside.
Common mistakes (and how to dodge them)
The mistakes below are common because they’re easy to miss until the build is done.
Avoiding them is mostly about planning, not spending more.
Choosing a style before defining the job
Fix: write the primary job in one sentence and use it as the filter for every decision.Undersizing the footprint
Fix: mark the area with tape or outdoor furniture and walk it; allow room for chairs to pull out and people to pass behind.Ignoring the afternoon sun path
Fix: check shade at different times across a week; west-facing problems often need side protection, not just overhead cover.Forgetting runoff and splash zones
Fix: plan drainage and where water will land; avoid sending runoff onto high-traffic paths.Blocking internal light and views
Fix: consider the house from inside; a great outdoor cover isn’t worth turning a living room into a cave.Leaving lighting to the last minute
Fix: decide early whether the space is daytime-only or genuinely a night-time area.Over-optimising for “looks” and under-optimising for comfort
Fix: prioritise shade, airflow, and seating comfort; style comes after performance.
Local SMB mini-walkthrough (Australia)
A small Australian renovation business often sees the same pattern.
The homeowner starts with inspiration images, then discovers the yard has a slope and a narrow side access.
They pick a footprint that fits furniture, then realise the outdoor unit and downpipe need clearance.
Next, they map afternoon sun and decide whether overhead cover alone is enough or if a western screen is needed.
They choose a roof style that matches how often they’ll use the area in wet weather.
Finally, they confirm any local constraints early so the design doesn’t get squeezed at the end.
Practical opinions (exactly three lines)
Prioritise comfort and orientation over “feature” upgrades.
Spend more thinking time on layout than on finishes.
If unsure, choose the option that stays usable in the weather you actually get.
A simple 7–14 day plan to make the choice with confidence
Day 1–2: define the pergola’s primary job and list three non-negotiables.
Day 3–4: measure properly, sketch constraints, and mark a proposed footprint on the ground.
Day 5–7: shortlist two styles that match function and space, then test furniture layout and traffic flow.
Day 8–10: decide your must-haves for shade, rain cover, privacy, and night use; note any electrical needs.
Day 11–14: sanity-check trade-offs (maintenance, airflow, light into the home, drainage) and prepare a clear brief for quotes or design discussions.
If decisions feel stuck, revisit the “primary job” sentence and remove anything that doesn’t support it.
Key Takeaways
Start with the pergola’s primary job, then choose style to match function and conditions.
Measure and mock up the footprint before committing to a look or roof type.
In Australia, orientation, drainage, and exposure matter as much as aesthetics.
Plan lighting and night use early so the space stays practical year-round.
Common questions we hear from Australian businesses
Q1: How do we decide between a freestanding and attached pergola?
In most cases, an attached option suits spaces that need easy daily access from indoors, while freestanding suits destination zones in the yard. Next step: map the main traffic path from the back door and place the pergola where it won’t interrupt it. In Australia, sun direction often makes an attached pergola more comfortable on the western side if it’s planned properly.
Q2: Is a louvre-style roof worth it compared to a fixed roof?
It depends on how much you value adjustability across seasons and times of day. Next step: write down the top two times you’ll use the space (e.g., weekday evenings and weekend afternoons) and choose the roof style that best controls glare and heat for those windows. In many Australian backyards, the ability to vent hot air can matter as much as rain cover.
Q3: What’s the most common sizing mistake?
Usually, people design to the pergola’s outer dimensions instead of designing around furniture clearance and circulation. Next step: place outdoor chairs and a table (or use tape) and ensure there’s room for chairs to pull out and people to walk behind them. In Australian homes with narrower side access, delivery and access constraints can also influence the most practical size and build approach.
Q4: Do we need to think about approvals before picking a style?
Usually, it’s smart to check early, because setbacks, height, and fixing methods can influence what’s feasible. Next step: list your proposed location, approximate dimensions, and whether it’s attached or freestanding, then confirm what’s required before locking in the design. In Australia, requirements can differ by local council and site conditions, so early checking helps avoid redesign later.



Write a comment ...